Wednesday, December 28, 2022

Sleigh bed restoration - The Nightmare can of worms begins. [Part 1]

Back in mid 2021. I was asked if I wanted to restore an old Sleigh bed. Of course I said yes.. Then the fun began.

As a furniture restorer, I get asked to repair all sorts of items like chairs, tables etc.


This was my first sleigh bed and I was really looking forward to it. The customers really wanted it doing. It had been outside in the rain, damp, stored away and not cared for in a good while. They were moving into their dream home and it was the only piece that they definitely wanted in their new home.


They had only paid a couple of hundred pounds for it and knew it needed a lot done. Including the width cut down by 100mm and length cut down by a similar amount.

It turned into a nightmare.

Watch the video

All the best. 

Jamie 

Saturday, December 24, 2022

Lee Valley replica of a Stanley classic honing guide

I've been using these wonderful little honing guides for a number of years now. They are so simple, so easy to set up and use and have only been available through the second hand market. 

Well, now Lee Valley introduced their own replica of the little gem to their arsenal of tools.


I teach woodworking and these are one of the first few tools that I encourage students to purchase. Because for them it's so easy to set up and use, I'm surprised its not been repeated earlier.

In this video (watch here)

I show how to use it, for the 25° and 30° positions. How I use it on the stone and how (if you want to learn freehand sharpening) it will teach you the muscle memory if you bring the wheel off the stone and carefully practice.

All the best

Jamie 

Wednesday, December 14, 2022

Tips for Waterstones

Waterstones are the best way to Sharpen your chisels & plane blades/irons.

Matt had some time to flatten the back of his chisel. From his 10,000 grit stone he was doing well. But.. The reflection shows us a curve and it had to be corrected.

Watch the video here

https://youtu.be/V0o5daPmyoE

We had to go back a step to show the impact of the fault. My 8000 grit stone sharpens, but with with a certain dullness (that quickly goes with a 10,000 stone) And going back a small step is worth doing. And maybe we could have flatted off more with the 8k stone.. It could have been an option. But, it actually didn't take too long to sort out.

Then onto the stability of the stones base on my bench. We moved the stone to the vise where it was a lot more stable and secure.

After that the back of the chisel was improving. But there were still some marks evident along the edge. You could see the issues from both sides.

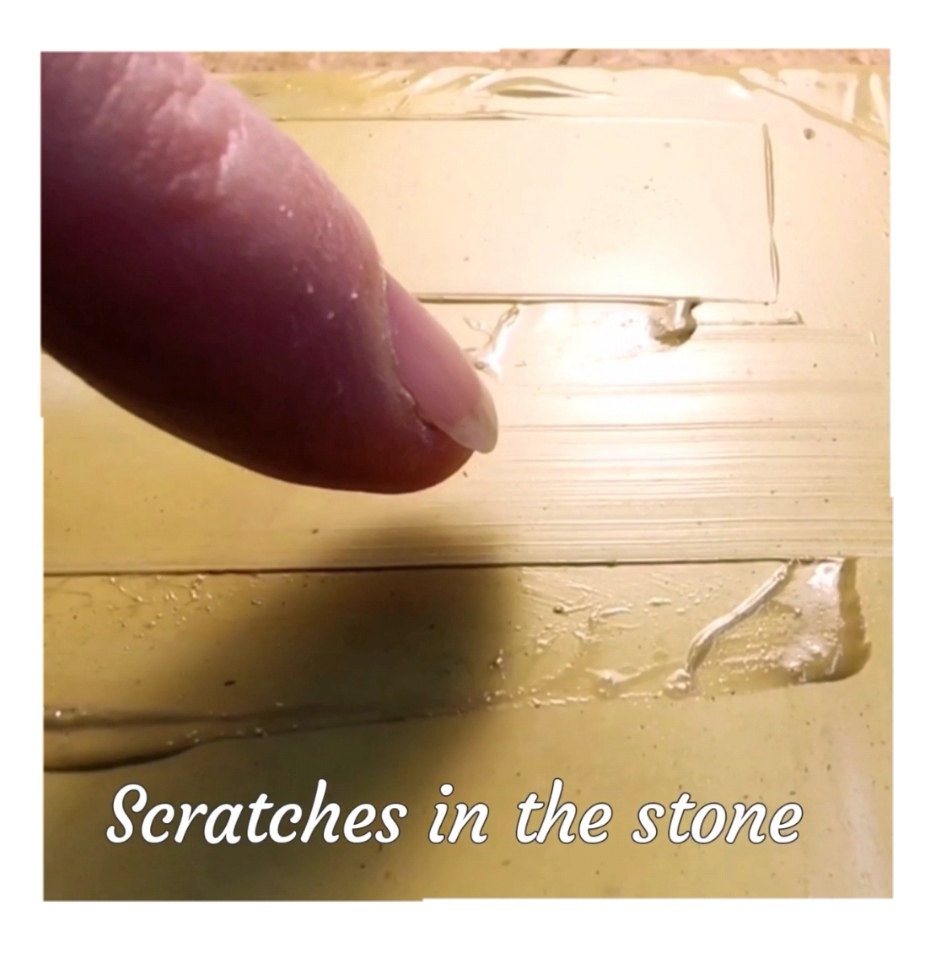
I set the blade up with a 30 degree wooden block. Pulled the chisel and the rough edge scratched it's way along the stone until it scratched no more.

Hone Rite in a spray bottle helps. And can make your woodworking time easier.

And time, we should take time to enjoy the process, whether joining timber or sharpening a blade.

Thank you.

Jamie 

Monday, December 12, 2022

A long journey - Chisel restoration

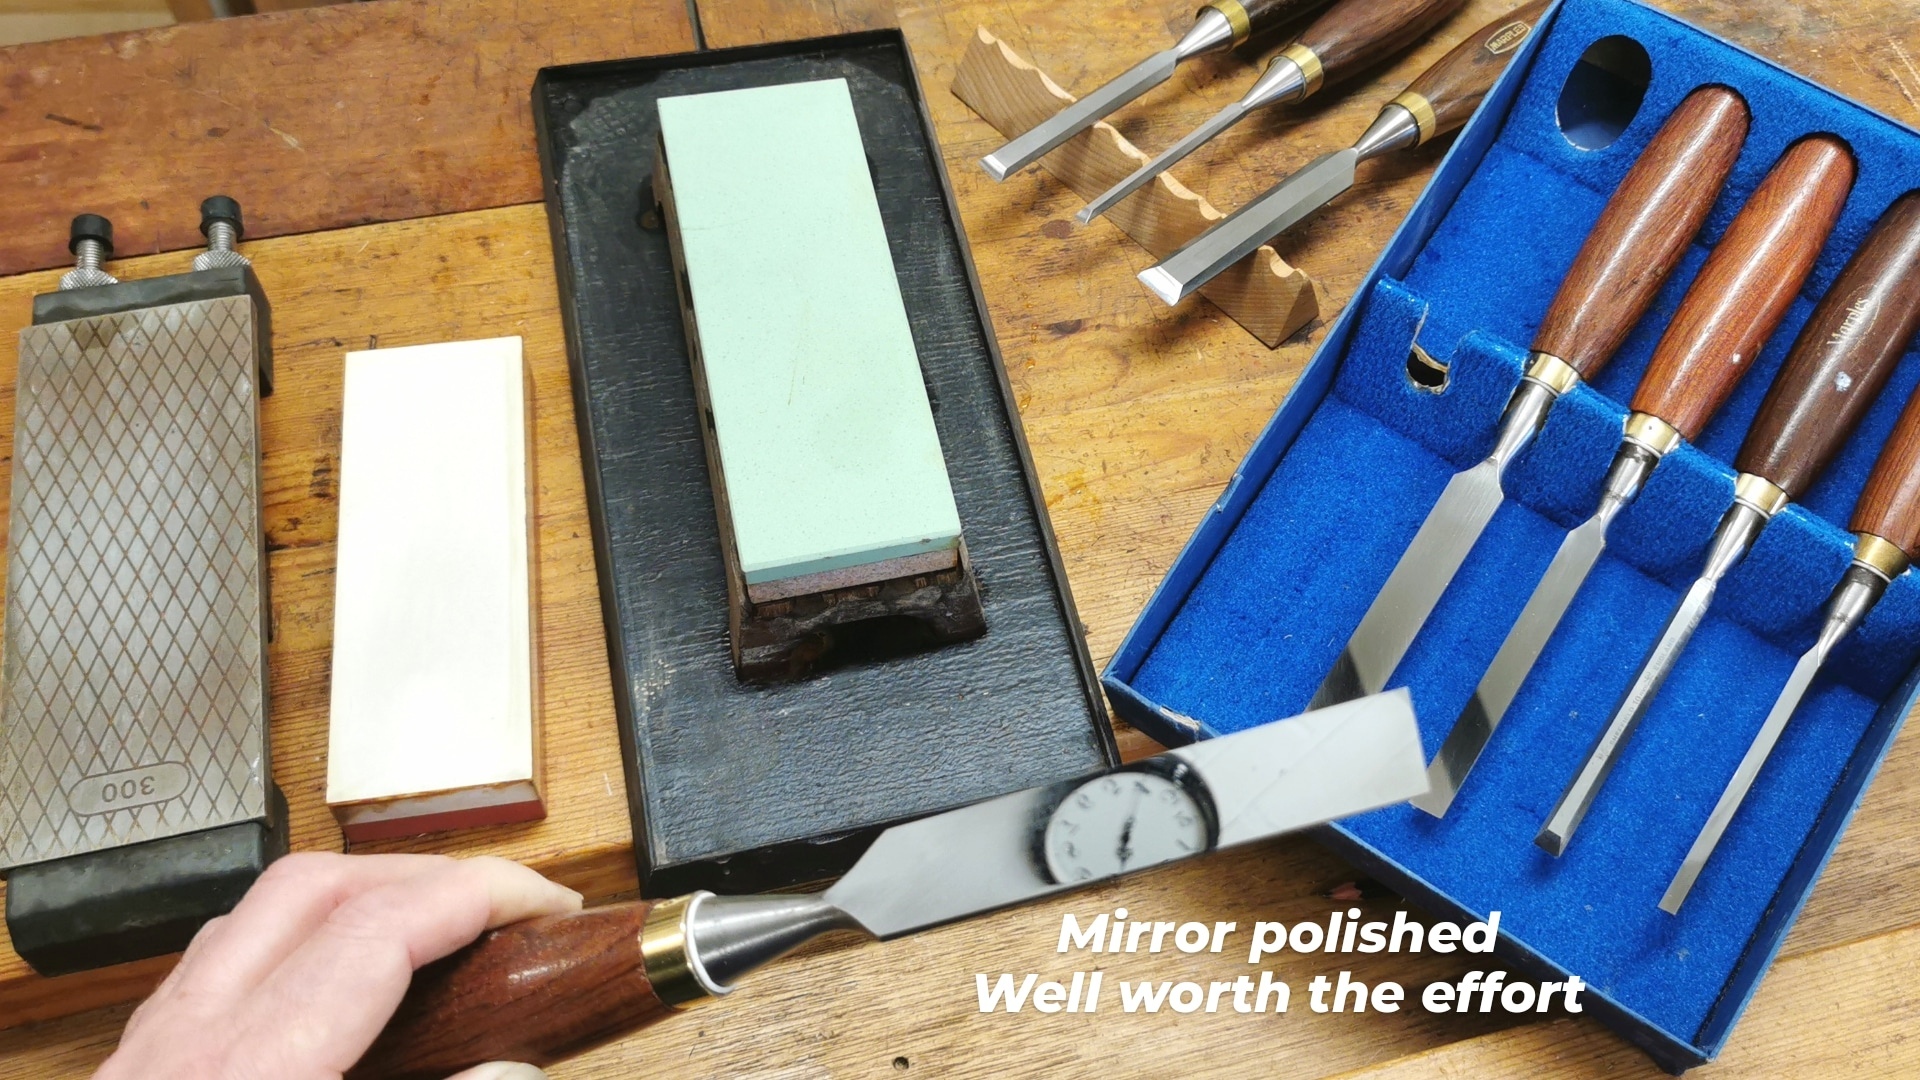
Chisel restoration & lapping these 1980s ultra rare set of Marples 'Gold Chip' beauties.

The last two of these wonderful Marples chisels need their backs flattened or 'lapped'
After an introduction (in my video) that does warn of the patience needed to complete this task. And complete it to a high standard that is needed if you want to produce high quality work.
Using diamond plates of 300 grit, 400 and 1000 grit.
And then onto my Waterstones. 1200, 3000, 6000, 8000 & 10,000 grits.

To get a high quality shine (which means no scratches) then I would advise not to miss out any of your stones.

Obviously if you only have a couple of waterstones, then use those but it may take a little longer.

The 1" chisel, took 6 hours in total.
The 3/4", 2 or 3 hours.
The 1/4" or 6mm took just over an hour
The 1/2" and 3/8" about 75 minutes each.

Stropping can be a valuable part of the process that really does refine & prolong the life of the cutting edge. I also use it to ensure the chisel is dry from using the water on the stones.

Watch the complete video here https://youtu.be/iC0Y_zvbfIY

I hope you enjoy the video. Let me know what you think.

All the best

Jamie

The Ultimate Upcycled bench

Part 4. Where the ideas start to become a drawing and the first joint done. There's a lot of woodworking going on in this video. Working...